Winterizing with Beeswax
When winter hits, salt, snow, and slush can turn beautiful leather into a cracked, stained mess. Fortunately, one of the oldest and most effective ways to protect leather from harsh weather is also one of the simplest: treating it with beeswax.
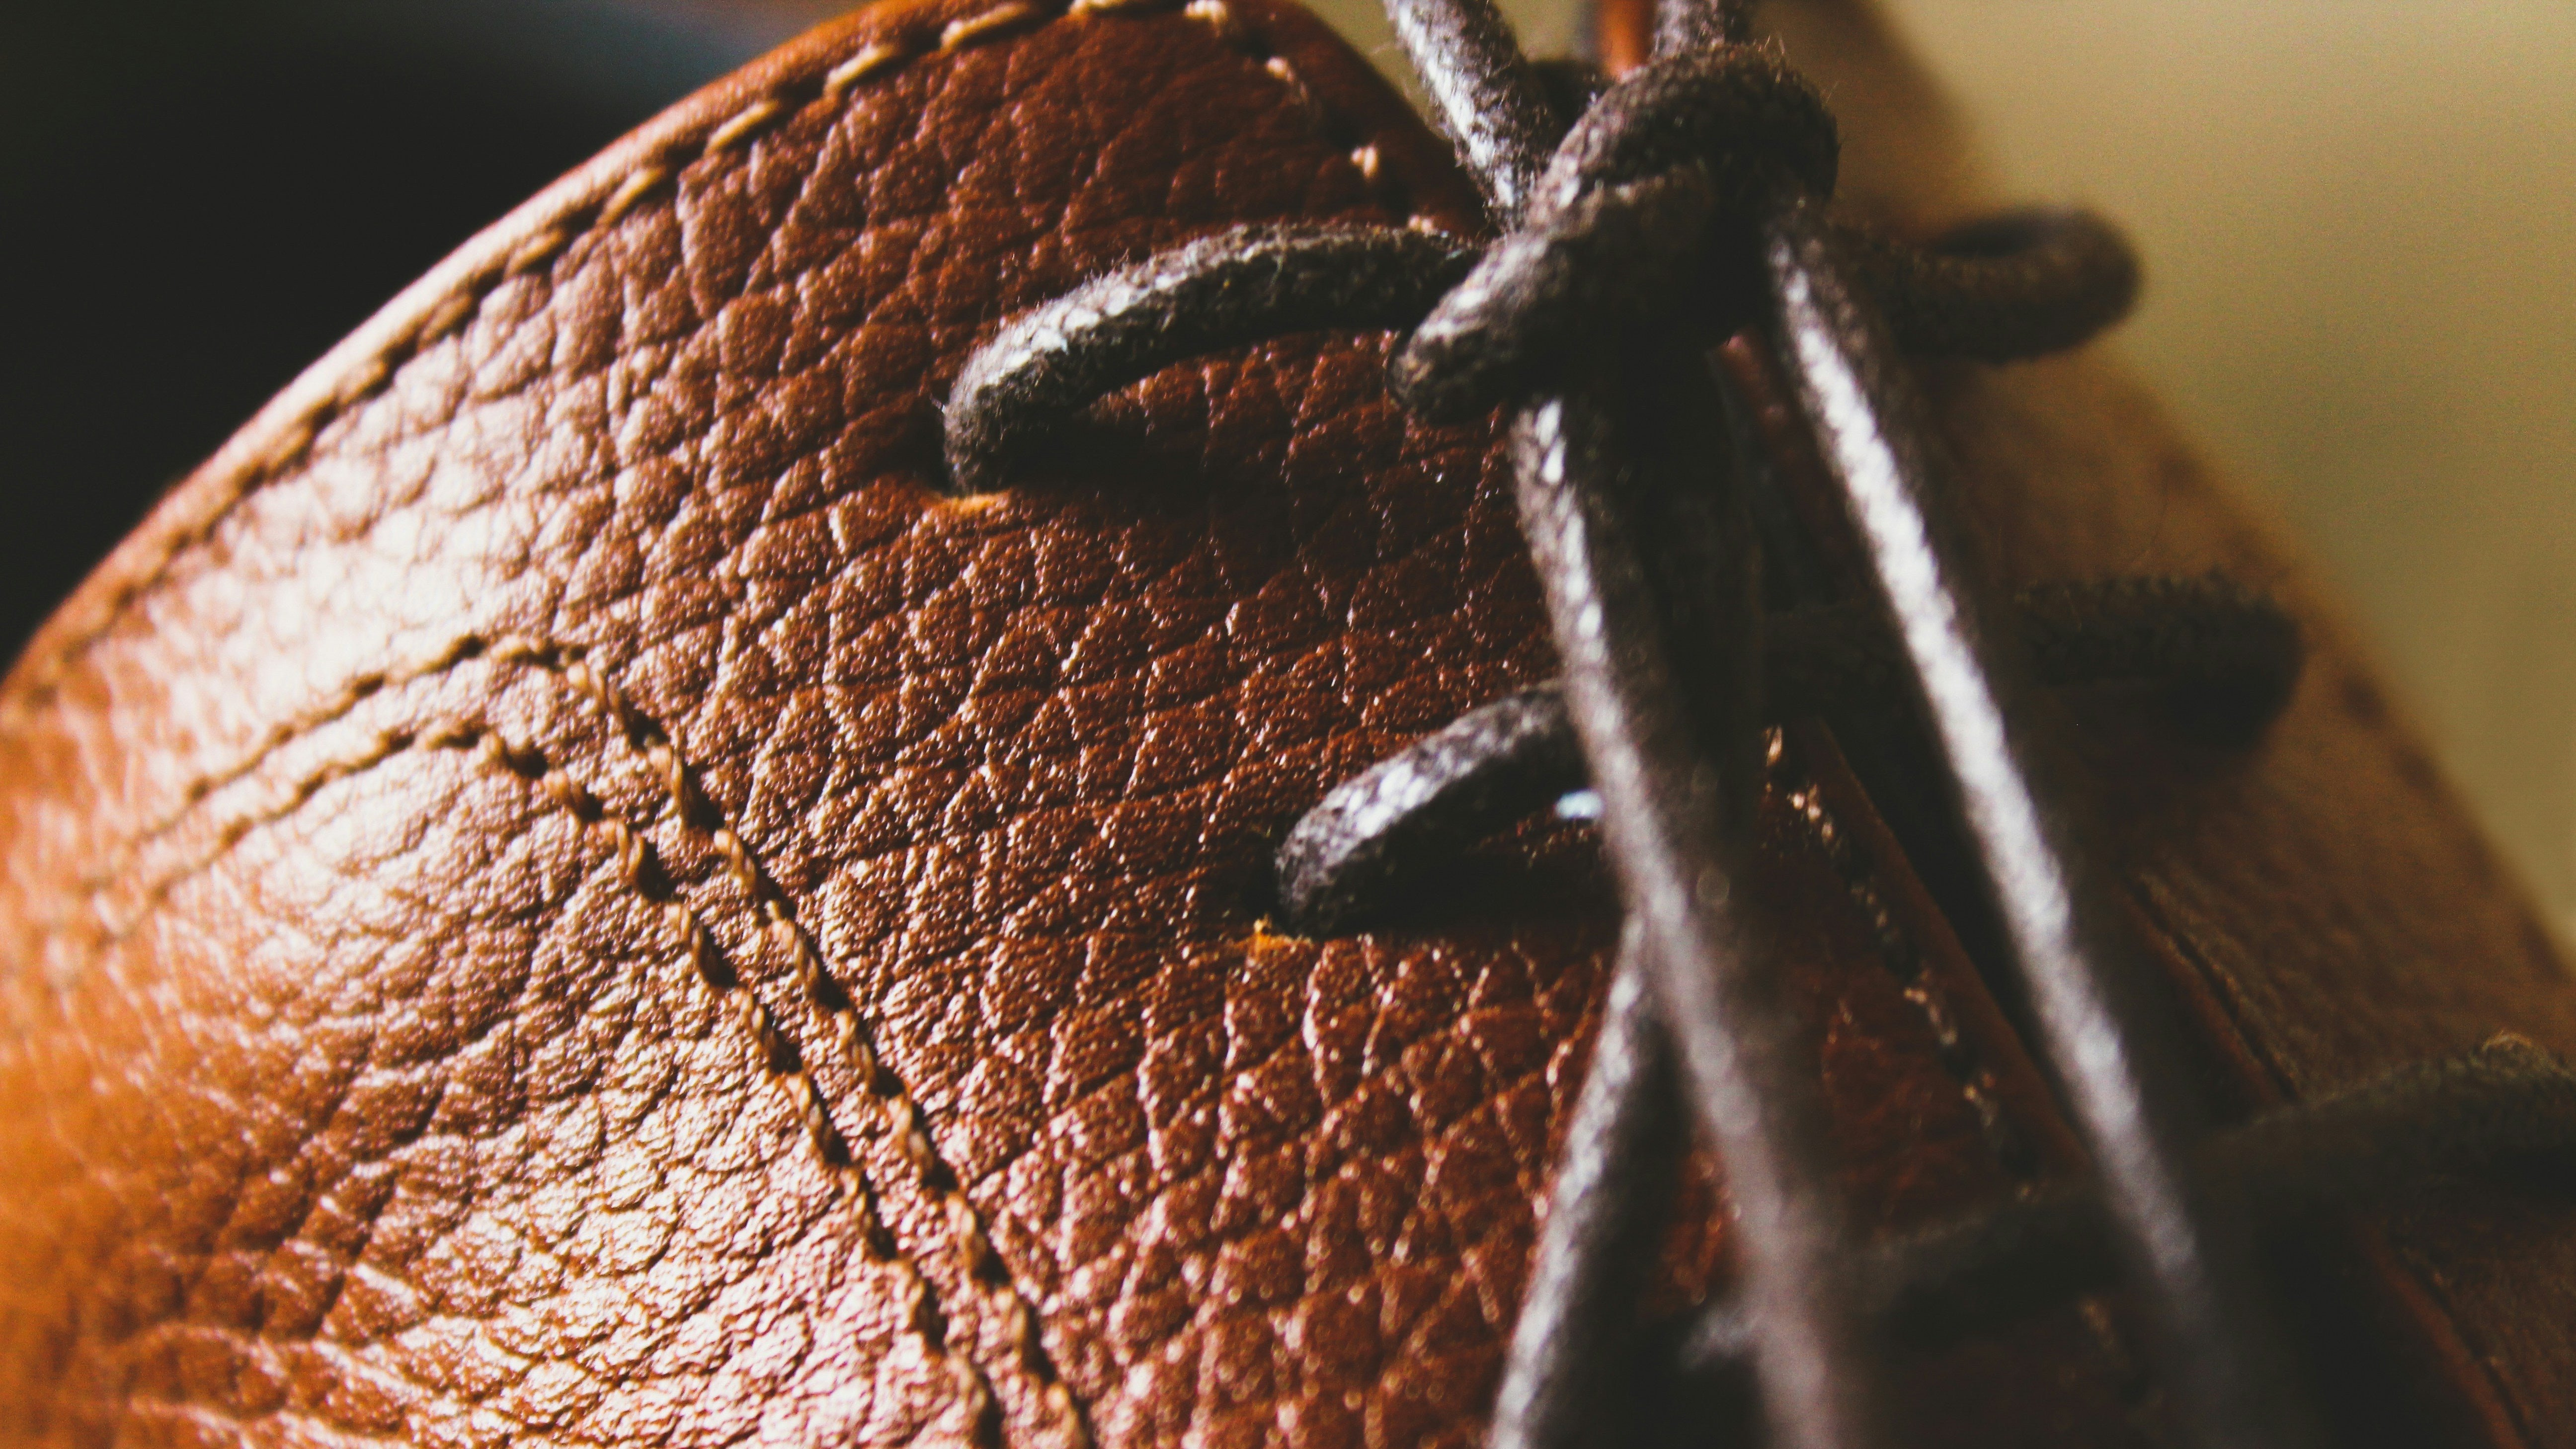
Beeswax has natural water-repelling properties, adds durability, and creates a breathable protective barrier—perfect for leather boots, jackets, bags, and gloves that face winter’s worst. Here’s a step-by-step guide to help you winterize your leather gear safely and effectively.
🧼 Step 1: Clean the Leather
Before applying any wax, the surface needs to be clean so the wax can bond properly.
-
Brush off dirt, salt, and mud with a soft or medium-stiff brush.
-
Wipe with a damp (not wet) cloth.
-
If there are heavy salt stains, use a mixture of one part white vinegar to three parts water on a cloth to neutralize the residue.
-
Let the leather dry completely at room temperature—no heat, which can cause cracking.
🔥 Step 2: Warm the Beeswax and the Leather
Beeswax is solid at room temperature and applies best when slightly softened.
Options to warm the wax:
-
Rub quickly with your fingers to soften it
-
Use a hair dryer on low to gently warm the tin or bar
-
Place the wax container in warm (not boiling) water
Warm the leather lightly too—a very brief pass with a hair dryer on low is enough. This helps the wax absorb instead of sitting on the surface.
🧴 Step 3: Apply the Beeswax
Now the fun part.
-
Using a soft cloth or your fingers, rub beeswax onto the leather in small circular motions.
-
Work section by section to ensure even coverage.
-
Pay extra attention to seams, creases, tongues (on boots), and any spot that tends to soak up moisture.
-
The leather will darken slightly—this is normal and usually temporary, but always test a hidden area first.
For clothing like a leather coat, work with thinner layers to avoid over-saturating the leather.
🌡️ Step 4: Heat-Set the Wax
Once the leather is fully coated, you’ll want to help the wax penetrate.
-
Use a hair dryer on low–medium heat.
-
Wave it back and forth over the surface until the wax melts and absorbs.
-
Wipe off any excess with a clean cloth.
The goal isn’t to liquify the wax completely—just to help it soak into the pores.
💨 Step 5: Let It Cure
Let the leather sit at room temperature for a few hours, or ideally overnight. This allows the wax to settle and bond with the fibers.
If it still feels tacky the next day, buff it lightly with a soft cloth.
❄️ Final Notes
How often should you reapply? If your boots face salted sidewalks daily, more frequent treatments will help them last significantly longer. We recommend every 4-8 weeks for heavy winter use leather items and once per season for moderate wear.
Things to watch out for!
-
Beeswax may slightly darken certain leathers, especially light or untreated ones.
-
Not recommended for suede or nubuck (these require specialized products).
-
Avoid over-heating the leather during application.
-
If your boots have a waterproof membrane (e.g., Gore-Tex), waxing may reduce breathability—use sparingly.

