Beeswax Candle with Pressed Springtime Flowers
These candles are simple to make, naturally fragrant thanks to the beeswax, and look stunning when the light glows through the petals. They also make wonderful gifts for spring birthdays, Mother’s Day, or simply as a cozy addition to your home!
If you’ve never made candles before, don’t worry — this project is beginner-friendly and only requires a few materials.

Materials You'll Need 🌸
-
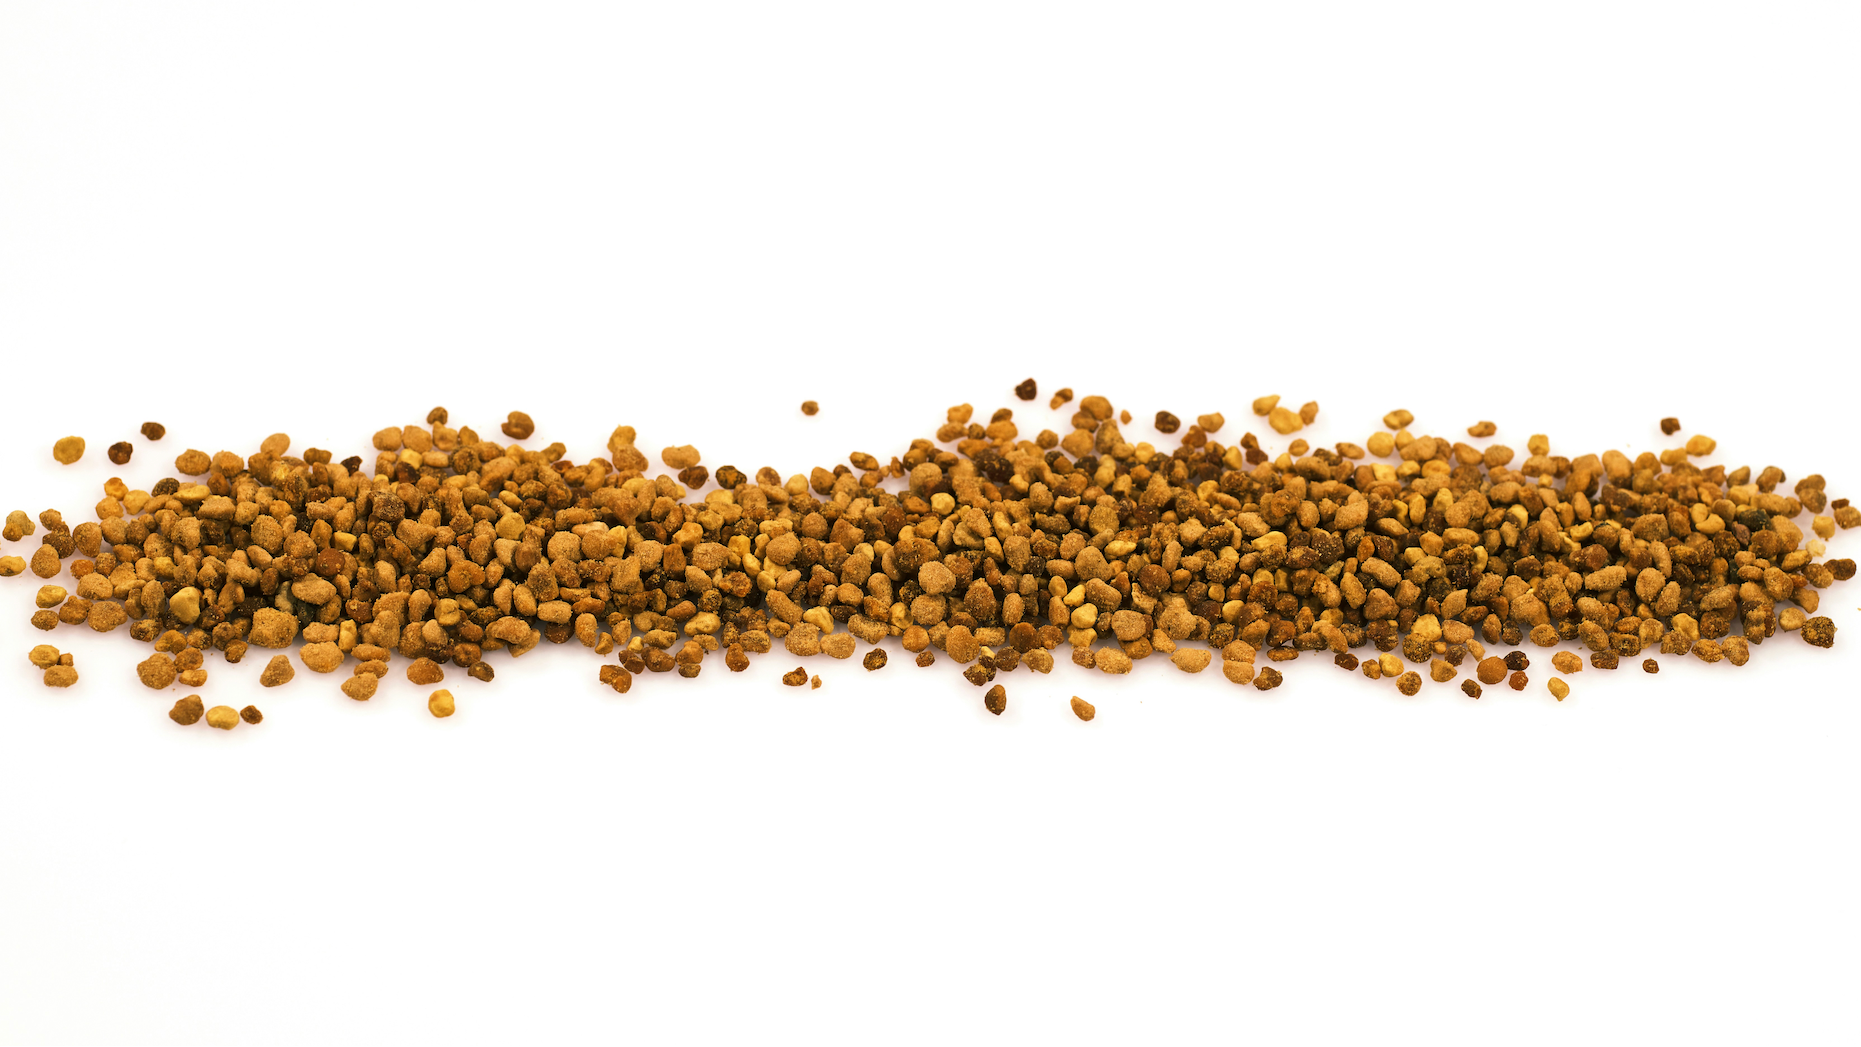
Champlain Valley Apiaries beeswax
-
Glass jars (mason jars or small candle jars)
-
Candle wick with metal base
-
Pressed or dried flowers
-
Craft glue or clear-drying glue
-
Double boiler or heat-safe bowl over a pot
-
Wooden skewer or chopstick
-
Optional: twine or ribbon for decoration
Instructions ✅
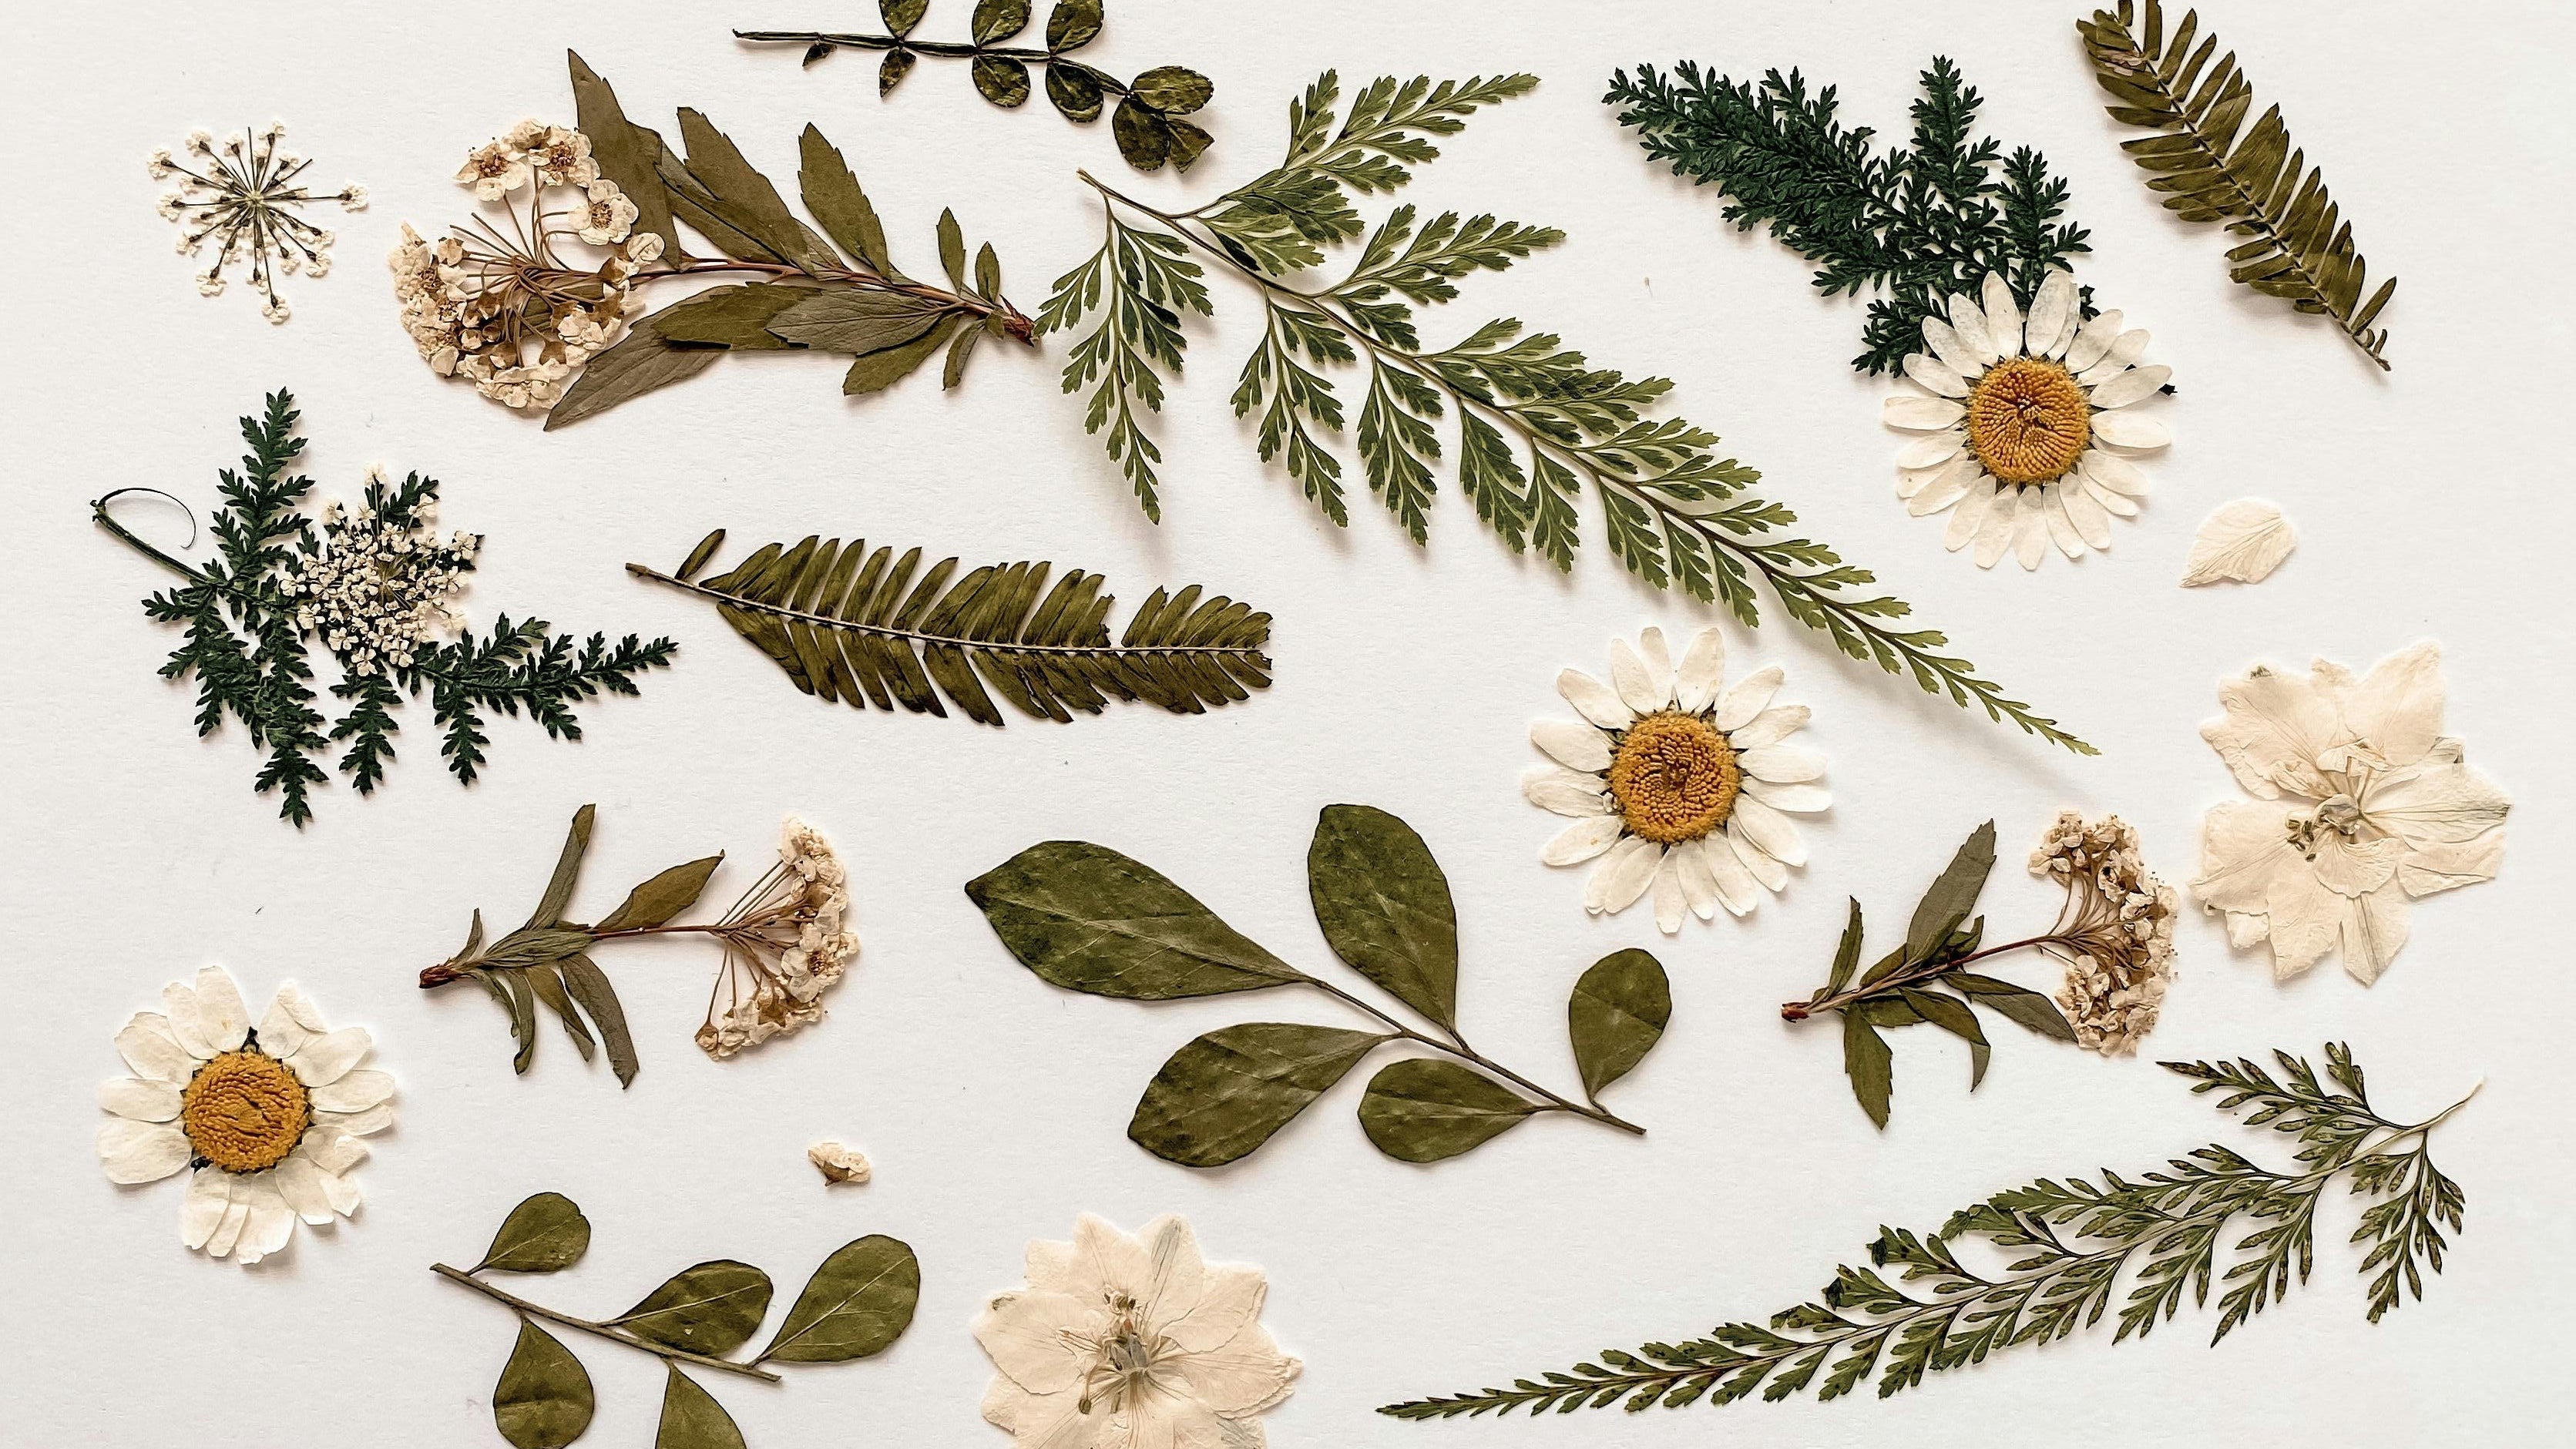
Step 1: Prepare Your Flowers
First, choose small, flat flowers that press well. Good options include daisies, pansies, chamomile, lavender, or baby’s breath. Make sure the flowers are completely dry before using them. Fresh flowers contain moisture that can affect the candle’s burn.
Step 2: Decorate the Outside of the Jar
Arrange your pressed flowers on the outside surface of the glass jar. Once you're happy with the layout, attach them using a thin layer of craft glue. Press gently so the petals lie flat against the glass. Allow the glue to dry completely before moving to the next step.
Step 3: Secure the Wick
Attach the candle wick to the center bottom of the jar using a wick sticker or a small dab of hot glue. Use a skewer or chopstick laid across the top of the jar to keep the wick centered.
Step 4: Melt the Beeswax
Fill a saucepan with a few inches of water and place a heat-safe bowl on top to create a double boiler. Add the beeswax and heat gently until it melts completely. Beeswax melts at about 145°F (63°C), so avoid overheating. If you'd like extra fragrance, you can stir in a few drops of essential oil once the wax is melted.
Step 5: Pour the Candle
Let the wax cool slightly for a minute or two, then slowly pour it into the jar. Fill the jar to about ½ inch below the rim.
Step 6: Let the Candle Set
Allow the candle to cool completely at room temperature. This may take several hours. Once hardened, trim the wick to about ¼ inch. Enjoy your candle!
Tips for the Best Results 🌿
- Use bright or colorful flowers for a more striking design
- Keep decorations on the outside of the jar so they stay vivid
- Add twine or ribbon around the rim for a rustic touch
- Choose clear glass jars so the candlelight shines through

