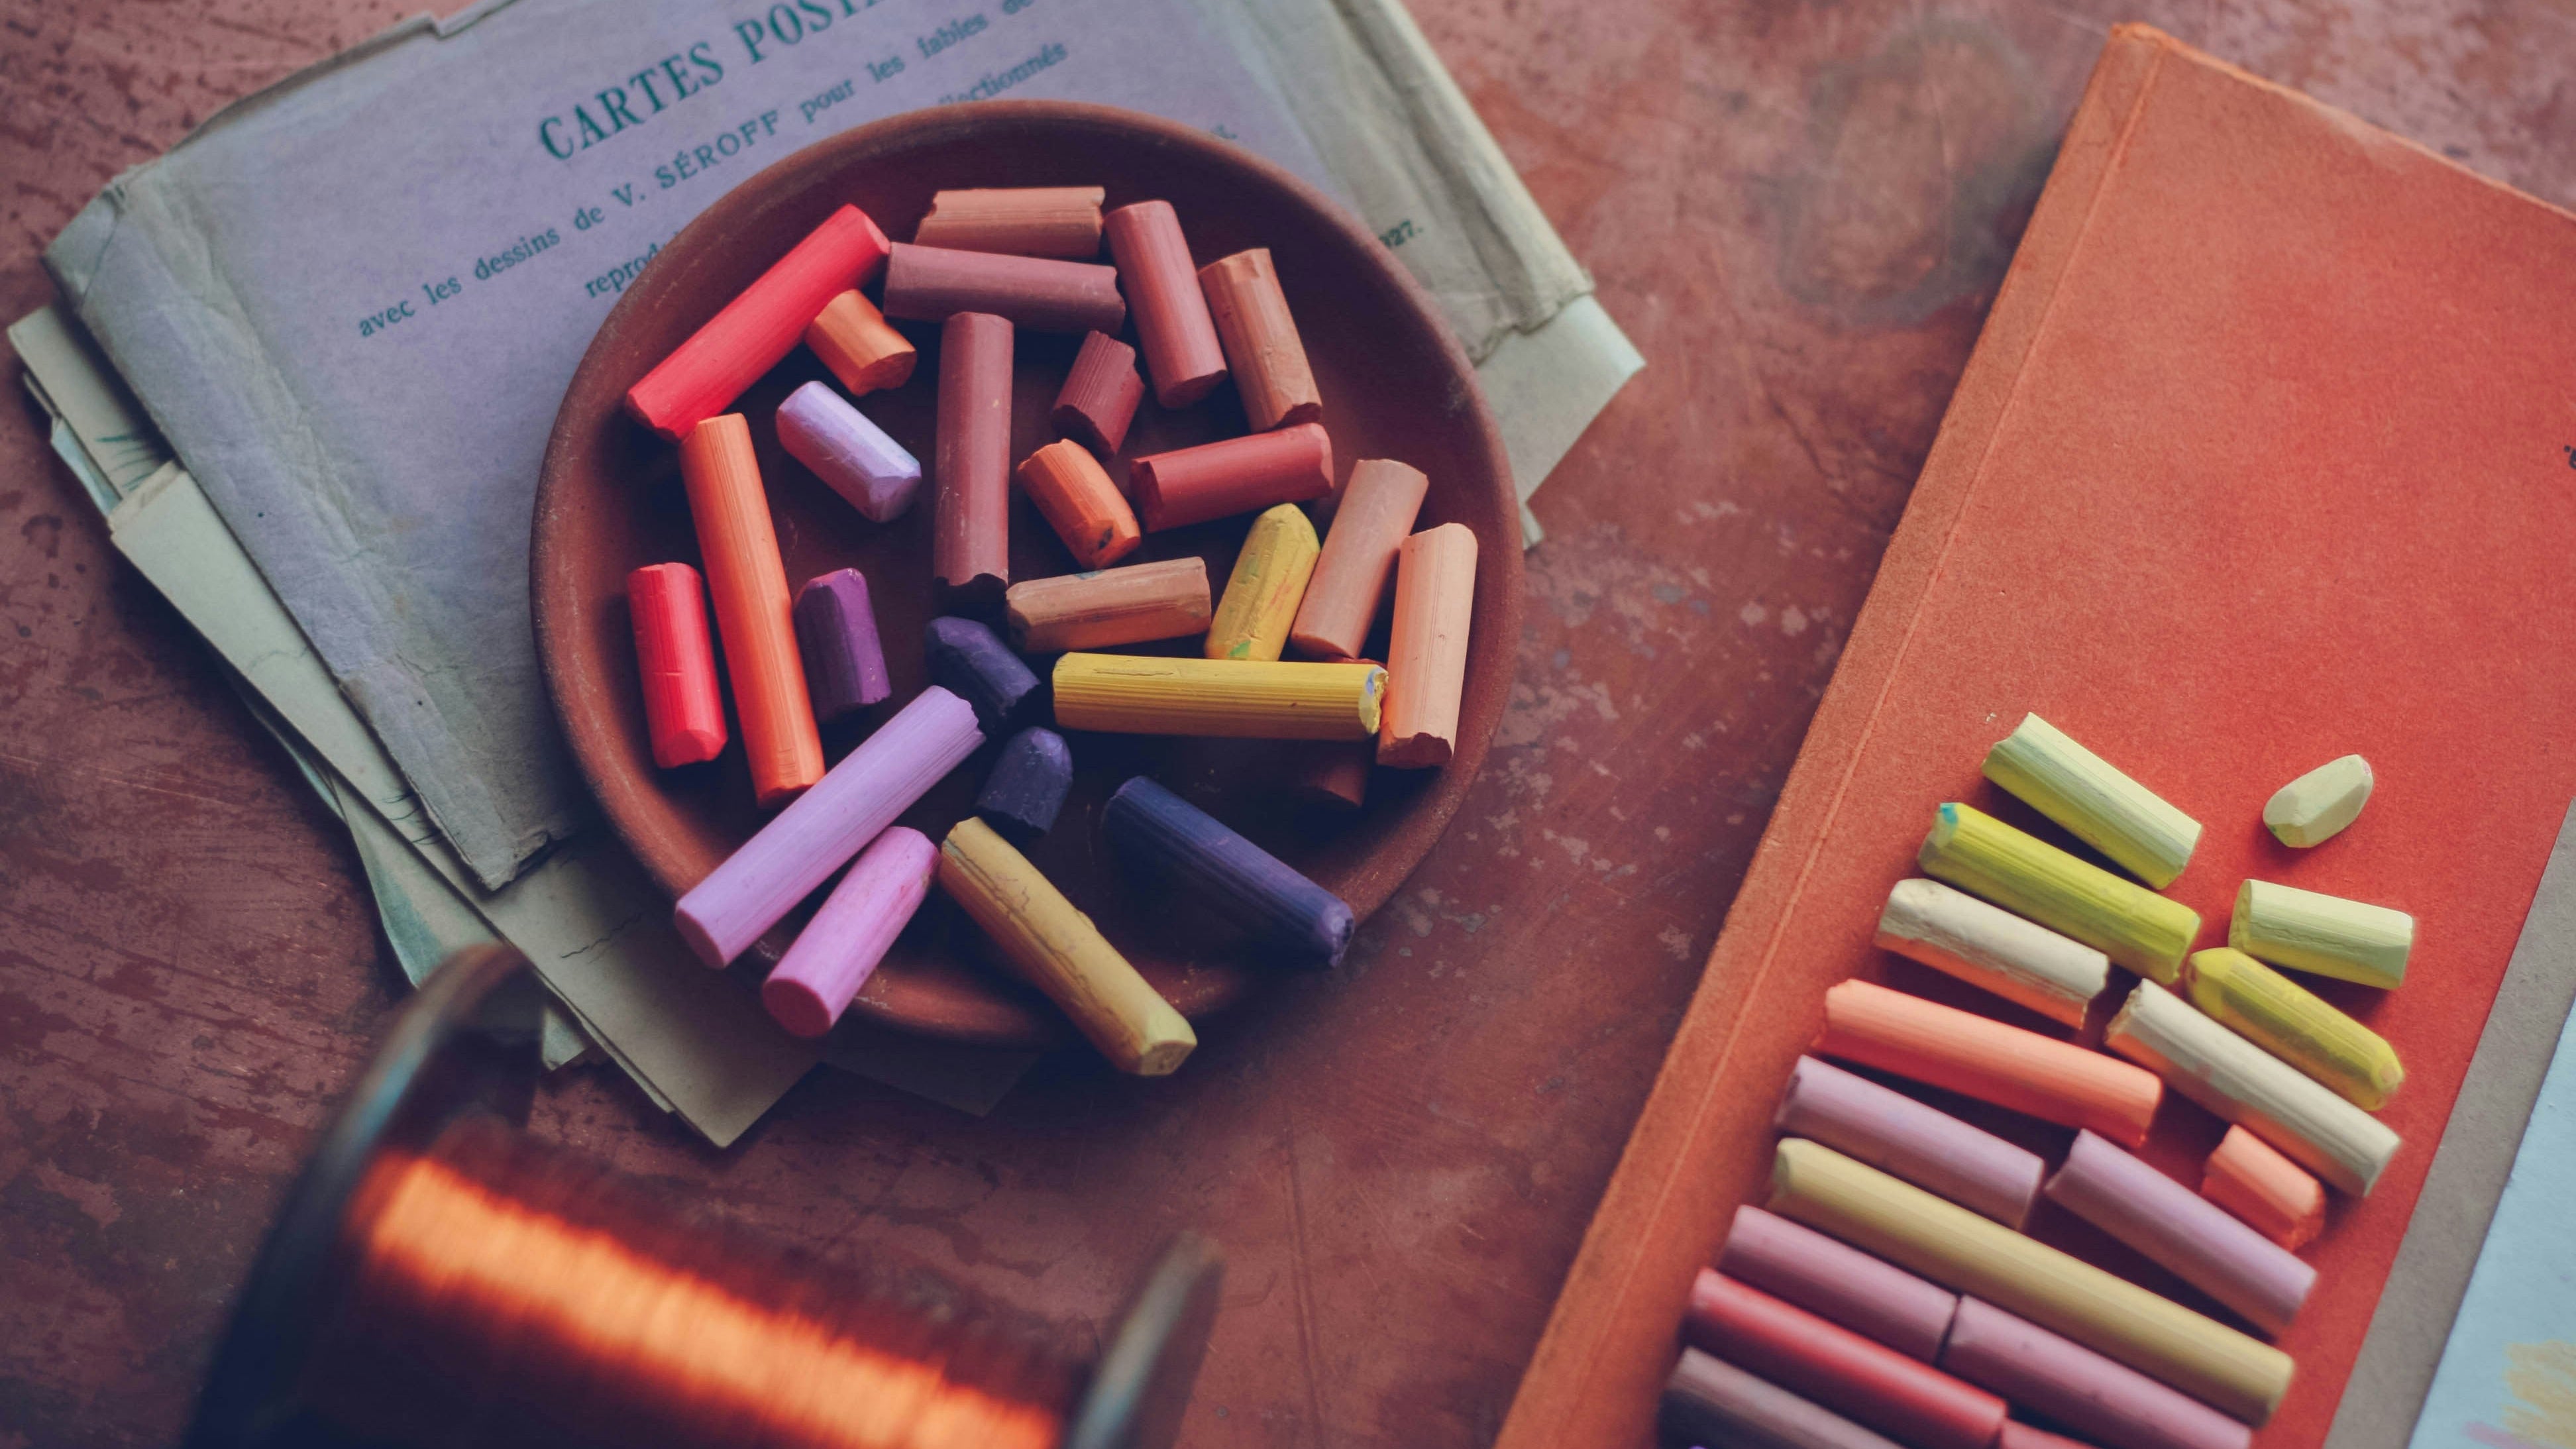
DIY Beeswax Crayons
Beeswax crayons are non-toxic, smell lightly of honey, and are a wonderful alternative to store-bought crayons—especially for kids. Best of all, they’re surprisingly easy to make at home with just a few simple supplies.
Why Beeswax Crayons?
Beeswax crayons are:
-
Natural and non-toxic, making them safer for young children
-
Durable, less likely to snap than paraffin crayons
-
Beautifully pigmented, with rich, earthy colors
-
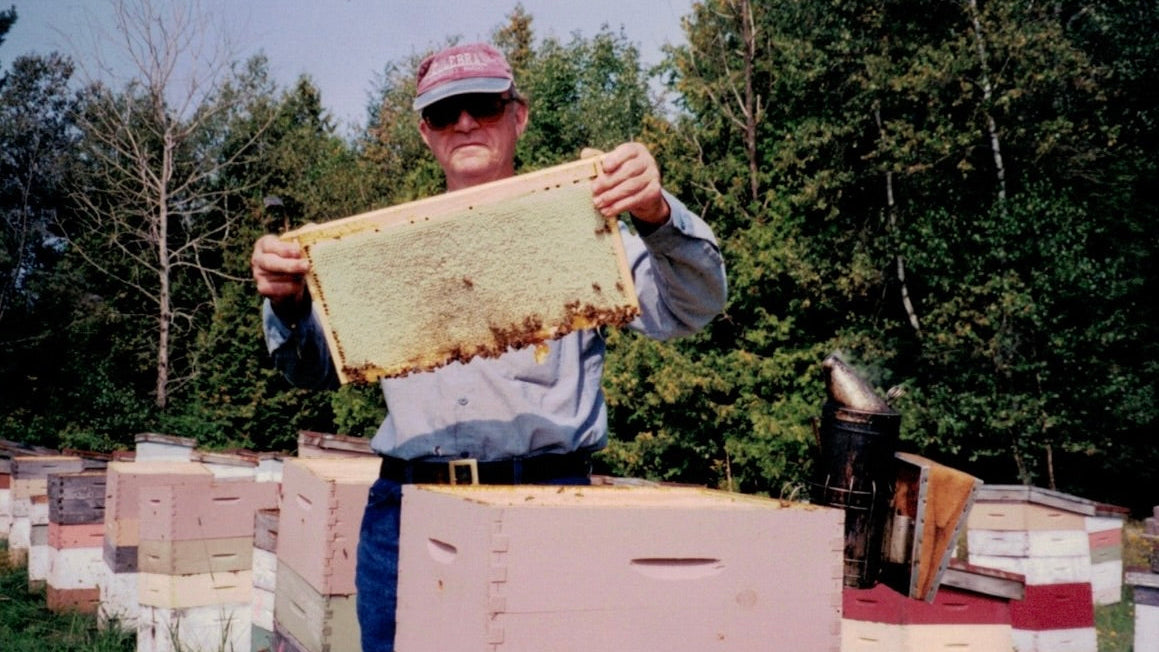
Sustainable, especially if you source local beeswax
They also make great handmade gifts or homeschool art supplies.
What You’ll Need
-
Beeswax (pellets or grated beeswax blocks)
-
Coloring agent
When making beeswax crayons for children, it’s important to choose non-toxic, kid-safe coloring agents. Here are a few great options:
-
- Mica Powders (Non-Toxic Grade): Mica powders create bright, beautiful colors and blend easily into melted beeswax. Be sure to use cosmetic-grade or non-toxic mica labeled safe for crafts. A small amount goes a long way.
- Natural Earth Pigments: Earth pigments such as iron oxides or clay-based colors are completely natural and very stable. They produce softer, earthy tones and are a great choice for all-natural, child-friendly crayons.
- Food-Based Powders: Powders like turmeric (yellow), beetroot (pink), spirulina (green), or activated charcoal (gray/black) are edible and safe for young children. Colors tend to be lighter and more natural-looking.
- Old Crayon Shavings (Optional): Using small amounts of broken crayons can add strong color and reduce waste. While not fully natural, most commercial crayons are non-toxic and safe for kids when used in small quantities.
-
Silicone molds (crayon molds, candy molds, or ice cube trays)
-
A double boiler (or a heat-safe bowl over a saucepan)
-
Stirring stick or spoon
-
Paper towels or newspaper (for easy cleanup)

Step-by-Step Instructions
1. Prepare Your Workspace
Cover your work area—beeswax can be messy and hard to remove once it hardens. Set out your molds on a flat surface.
2. Melt the Beeswax
Add beeswax to the top of a double boiler and heat gently over medium-low heat. Beeswax melts at a relatively low temperature, so avoid overheating. Stir occasionally until fully melted.
3. Add Color
Once the beeswax is liquid, add your coloring agent a little at a time. Mica powders are very concentrated, so start small and adjust until you like the color. Stir thoroughly to ensure the pigment is evenly distributed.
4. Pour Into Molds
Carefully pour the melted beeswax into your molds. Work slowly—beeswax begins to harden quickly.
5. Let Them Set
Allow the crayons to cool completely at room temperature. This usually takes 30–60 minutes. Avoid moving the molds while they’re setting to prevent cracks.
6. Remove and Enjoy
Once fully hardened, gently pop the crayons out of the molds. They’re ready to use!
Tips for Success
-
Test colors first by dripping a little wax onto paper
-
Mix colors to create custom shades
-
Use silicone molds for easiest removal
-
Store crayons in a cool place to prevent softening
